Title here
Summary here
February 29, 2024 in antora, guide, doc as code, documentation by Wisdom Nwokocha8 minutes
Antora is a static site generator that transforms AsciiDoc content into documentation sites.
AsciiDoc is a lightweight markup language for creating notes, articles, books, and web pages. Its simplicity allows complex documents using plain text files.
This guide walks you through building a documentation site with Antora and AsciiDoc, including exporting to PDF, HTML, and other formats.
First, make sure you have Node.js installed on your system. Then, follow these steps:
Create a new directory for your documentation project.
Open a terminal and navigate to the project directory.
Run the following command to install Antora:
1 node -e "fs.writeFileSync('package.json', '{}')" && npm i -D -E @antora/cli@3.1 @antora/site-generator@3.1This command creates a package.json file and installs the Antora CLI and site generator as development dependencies in your project.
To verify that Antora is installed, run the following command:
1 npx antora -vIf you encounter any issues during the installation, refer to the official installation guide.
Create an Antora playbook file (e.g., antora-playbook.yml) in your project directory. This file defines the structure of your documentation.
Specify the content sources (e.g., Git repositories, local directories) where your documentation files reside.
Define the UI bundle (e.g., a theme) that Antora will use to generate your site.
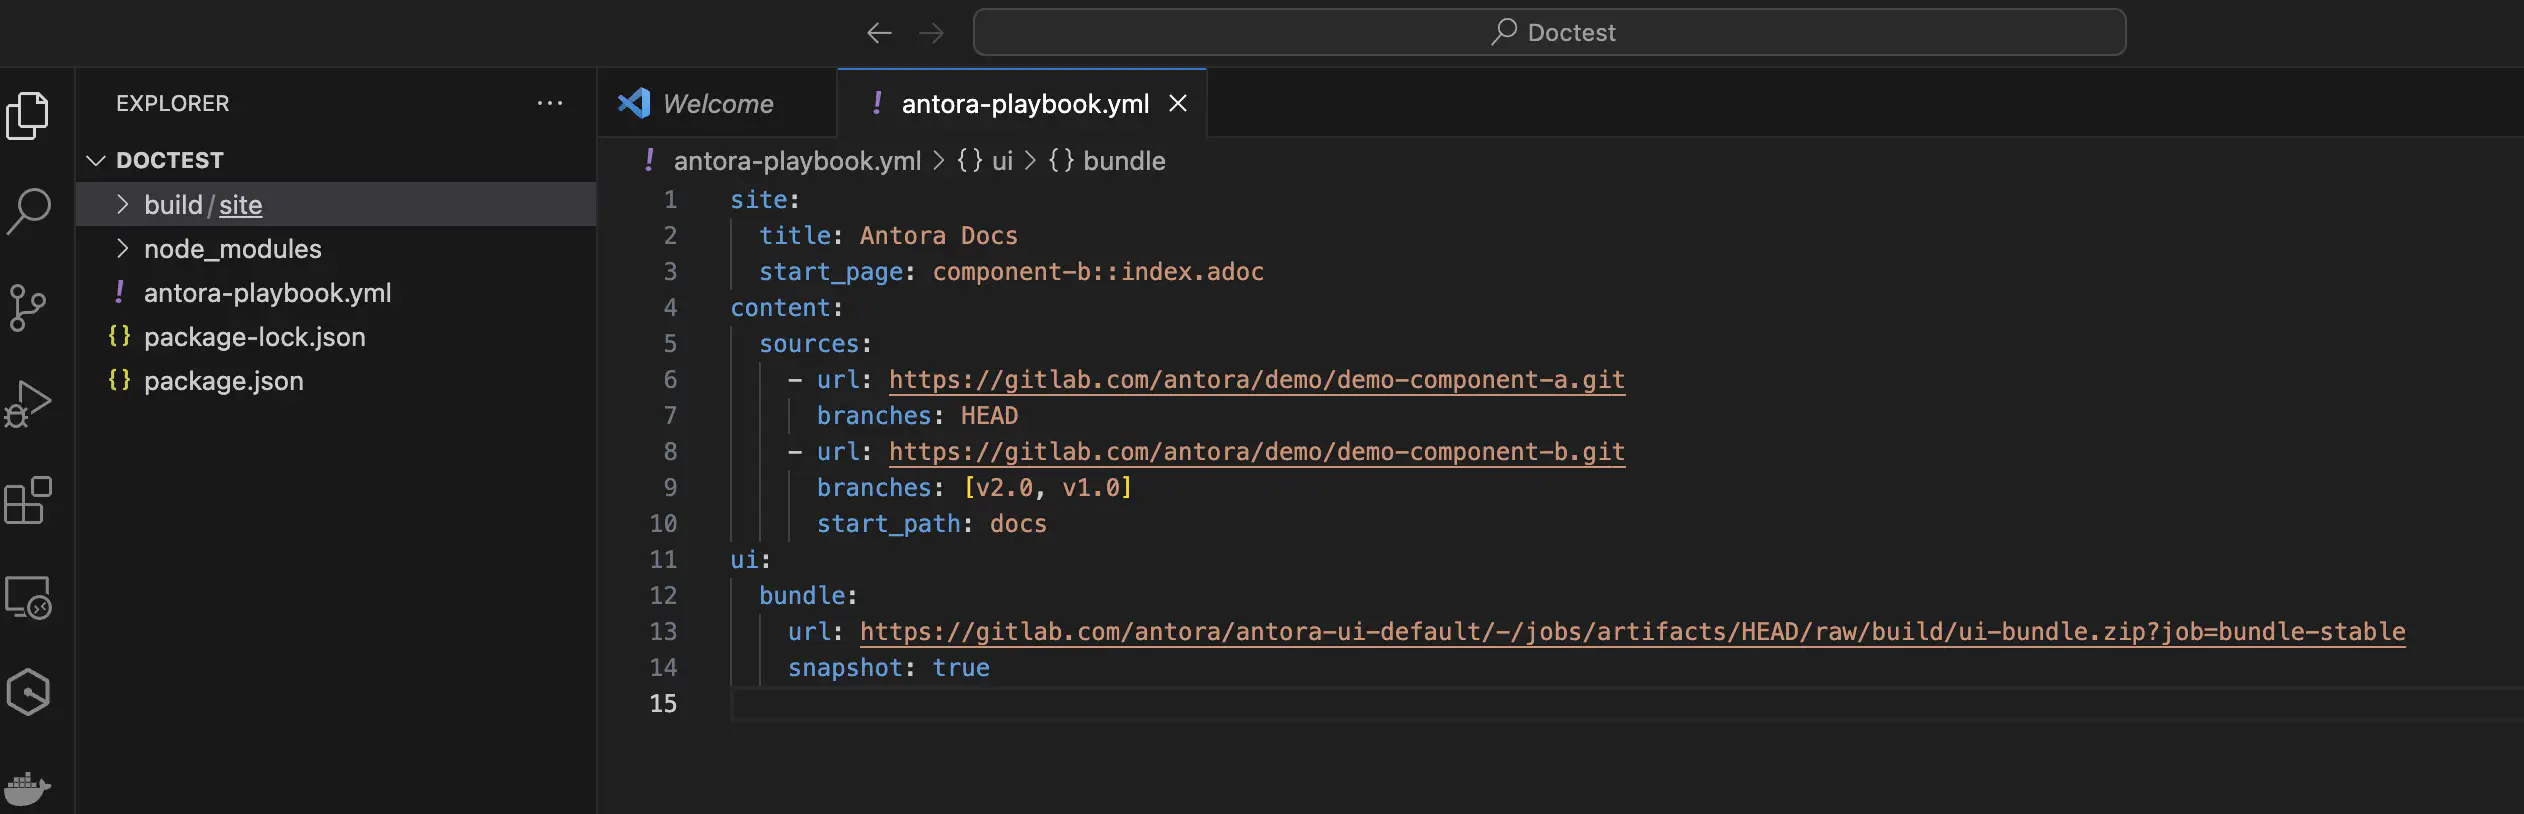
Playbook configuration
A playbook is a configuration file that tells Antora where to find the content and UI resources it needs to generate a documentation site.
To create a playbook, follow these steps:
Using your preferred text editor or IDE, create a new file.
Populate the file with the configuration information provided below.
 1    site:
 2      title: Antora Docs
 3      start_page: component-b::index.adoc
 4    content:
 5      sources:
 6      - url: https://gitlab.com/antora/demo/demo-component-a.git
 7        branches: HEAD
 8      - url: https://gitlab.com/antora/demo/demo-component-b.git
 9        branches: [v2.0, v1.0]
10        start_path: docs
11    ui:
12      bundle:
13        url: https://gitlab.com/antora/antora-ui-default/-/jobs/artifacts/HEAD/raw/build/ui-bundle.zip?job=bundle-stable
14        snapshot: true
This is the default playbook configuration from Antora.
This playbook file will create a site using the Antora demo repositories.
Save the file as antora-playbook.yml in the root folder.
In the terminal, navigate to your project directory.
Run the following command to generate your site in the root folder:
1 npx antora generate antora-playbook.ymlThis command tells Antora to generate the documentation site in this folder build/site using your created playbook.
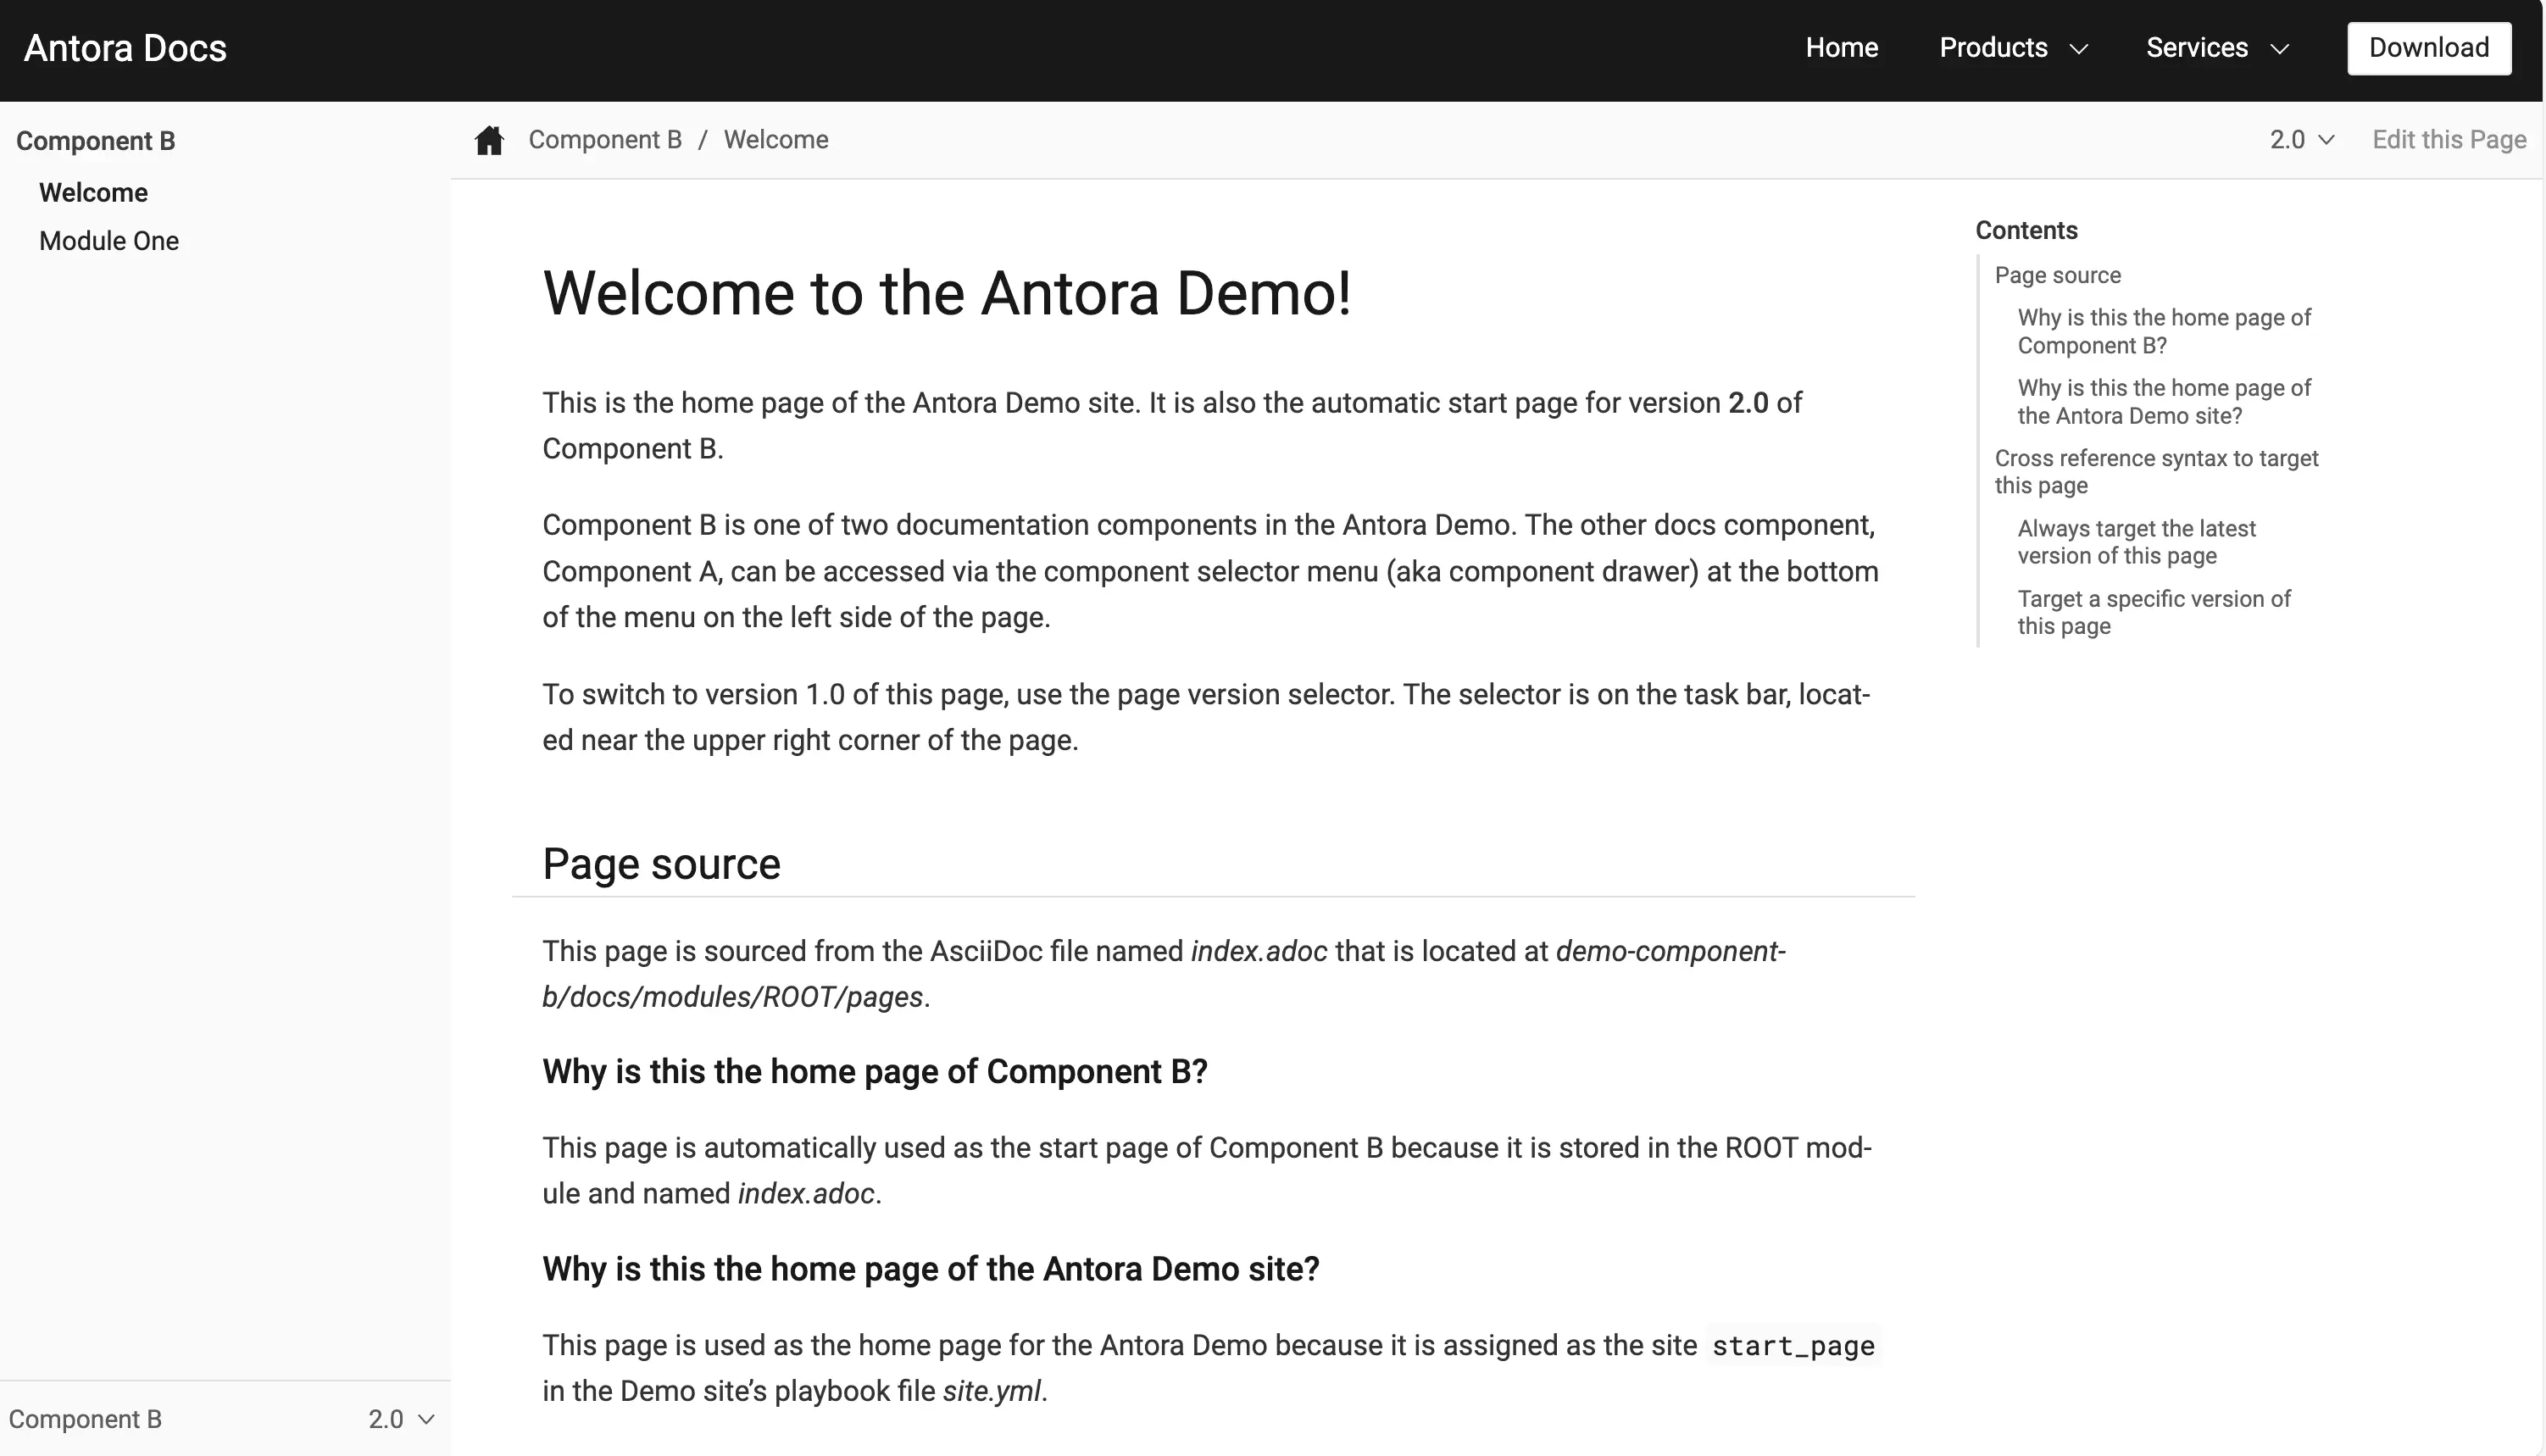
Site generation complete!
Open file:///Users/wisdomnwokocha/Desktop/Doctest/build/site/index.html in a browser to view your site.
Copy the URL and open the index.html file in your browser to see the result.
To run Antora remotely, use the following command:
1 npx antora -fetch antora-playbook.ymlAdd this flag --fetch to fetch from a remote repo.
Antora will clone the content and UI repositories and generate your documentation site to the default output directory.
Congratulations!
You’ve successfully built your first site with Antora.
Now that you’ve created a documentation site, it’s time to learn how to create content using AsciiDoc.
To create content in AsciiDoc, you need to understand basic syntax.
Here’s a simple example:
 1    = Getting Started with Antora
 2    John Doe <john.doe@asciidoctor.org>
 3
 4    == Section 1
 5
 6    Lorem ipsum dolor sit amet, consectetur adipiscing elit. Sed sagittis metus at est scelerisque, nec faucibus neque dapibus. Duis vitae mi at eros tincidunt consequat.
 7
 8    === Subsection 1.1
 9
10    Integer eget nibh nec nulla euismod finibus. Proin non ipsum vel leo rhoncus venenatis. Nam nec pharetra lorem.
11
12    .Table Title
13    |===
14    |Name of Column 1 |Name of Column 2 |Name of Column 3
15
16    |Cell in column 1, row 1
17    |Cell in column 2, row 1
18    |Cell in column 3, row 1
19
20    |Cell in column 1, row 2
21    |Cell in column 2, row 2
22    |Cell in column 3, row 2
23    |===
This example demonstrates the basic structure of an AsciiDoc document.
= character is used to define the document title.== characters are used to define the section titles.=== characters are used to define the subsection titles.<> character is used to define the author’s email address.To learn more about the syntax, refer to the AsciiDoctor Quick Syntax Reference.
You can export your AsciiDoc documents to PDF, HTML, and DocBook formats.
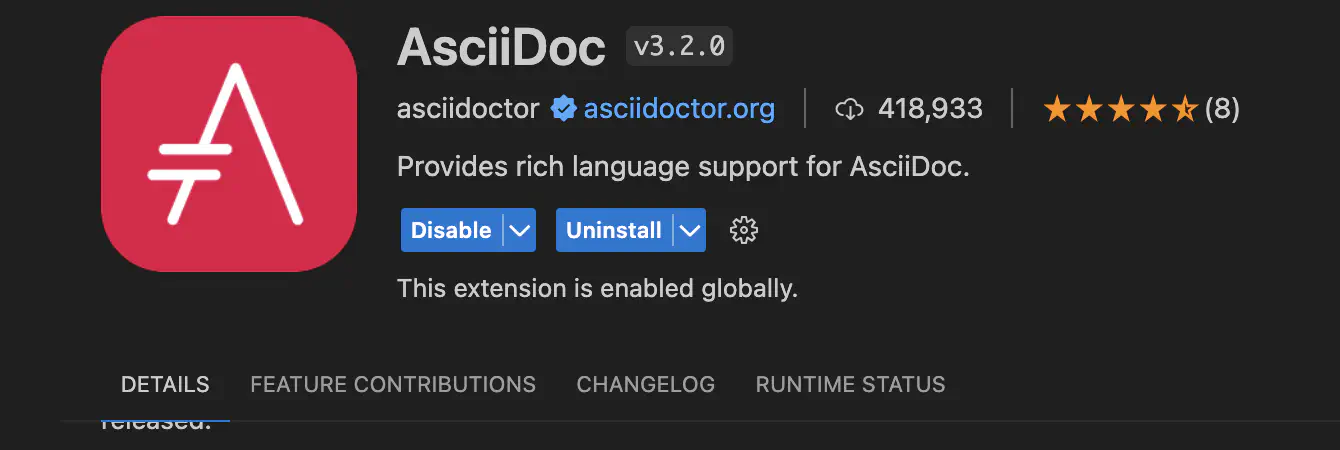
An easy way to export your documents is to use the AsciiDoc extension for Visual Studio Code.
AsciiDoc Extension for VSCode To use the AsciiDoc extension for Visual Studio Code, you need to install it from the Visual Studio Code Marketplace.
Make sure the extension you install is published by Asciidoctor.
The extension looks like this:
After installation, ensure the extension is enabled in your Visual Studio Code settings.
Export as PDF To export your AsciiDoc document as a PDF, follow these steps:
Open the command palette using the following command: ctrl+shift+p // On Windows. Alternatively, use F1. cmd+shift+p // On Mac
Select AsciiDoc: Export document as PDF.
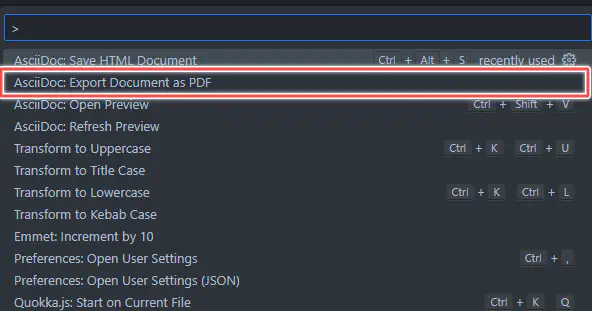
The AsciiDoc extension will prompt you to select the PDF’s desired file name and location.
Save as HTML To generate HTML from your Asciidoc file, follow the steps below:
Open the command palette.
Select AsciiDoc: Save HTML document.
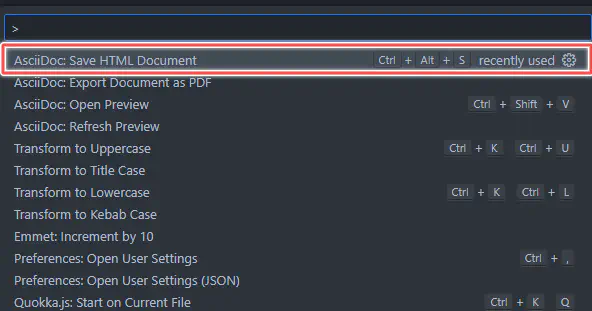
The file is generated in the same folder as the source document.
To quickly do this, use the shortcut keys below:
1     ctrl+alt+s \\ On Windows
2     cmd+alt+s \\ On Mac
Save to DocBook Docbook is another type of markup language used in technical documentation.
To save your AsciiDoc file to Docbook, follow the steps below:
From the command palette.
Select AsciiDoc: Save to DocBook.
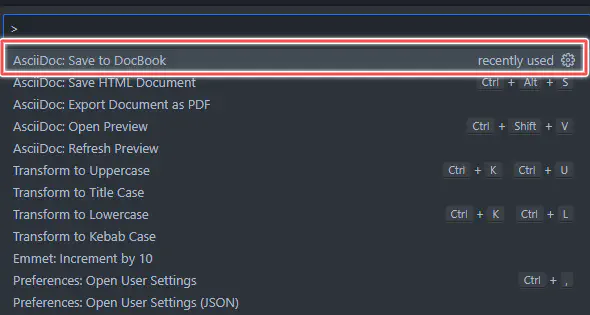
The file is generated in the same folder as the source document.
Only DocBook 5 is supported.
Create a /docs in the root folder of your project.
Copy the content from the GitHub repository’s docs folder into your own.
Modify the content as needed.
Work Offline:
1 npx antora antora-playbook.ymlUpdate Your Playbook:
Edit your playbook (antora-playbook.yml) with the following configurations:
Your URL is pointing to the root folder (.)
 1      site:
 2        title: Wizzy Docs
 3        start_page: component-b::index.adoc
 4      content:
 5        sources:
 6          - url: .
 7            start_path: docs
 8      ui:
 9        bundle:
10          url: ./ui-bundle
11      antora:
12        extensions:
13 - "@antora/lunr-extension"Ensure you have enabled your repository’s GitHub Pages by creating a gh-pages branch.
# Simple workflow for deploying static content to GitHub Pages
 1    name: Deploy Antora static content to Pages
 2    on:
 3      # Runs on pushes targeting the default branch
 4      push:
 5        branches: ["main"]
 6      # Allows you to run this workflow manually from the Actions tab
 7      workflow_dispatch:
 8    # Sets permissions of the GITHUB_TOKEN to allow deployment to GitHub Pages
 9    permissions:
10      contents: write
11      pages: write
12      id-token: write
13    # Allow only one concurrent deployment, skipping runs queued between the run in-progress and latest queued.
14    # However, do NOT cancel in-progress runs as we want to allow these production deployments to complete.
15    concurrency:
16      group: "pages"
17      cancel-in-progress: false
18    jobs:
19      deploy:
20        environment:
21          name: github-pages
22          url: ${{ steps.deployment.outputs.page_url }}
23        runs-on: ubuntu-latest
24        steps:
25          - name: Checkout
26            uses: actions/checkout@v4
27          - name: Setup Pages
28            uses: actions/configure-pages@v4
29          - name: Upload artifact
30            uses: actions/upload-pages-artifact@v3
31            with:
32              # Upload entire repository
33              path: "./build/site"
34          - name: Deploy to GitHub Pages
35            id: deployment
36            uses: actions/deploy-pages@v4
37            with:
38              github_token: ${{ secrets.GITHUB_TOKEN }}
39              publish_dir: ./build/site # Update this to match your Antora output directory
To Publish Your Changes:
Make Edits: Update your documentation files as needed.
Commit: Commit your changes to Git.
Push to GitHub: Always push your changes to GitHub.
Live Updates: Your updated content will be live once it’s pushed to the repository.
Follow the Same Process as GitHub:
Create an Azure Pages Workflow:
azure-pages.yml) in your repository. 1 name: Azure Static Web Apps CI/CD
2 pr:
3 branches:
4 include:
5 - main
6 trigger:
7 branches:
8 include:
9 - main
10 jobs:
11 - job: build_and_deploy_job
12 displayName: Build and Deploy Job
13 condition: or(eq(variables['Build.Reason'], 'Manual'),or(eq(variables['Build.Reason'], 'PullRequest'),eq(variables['Build.Reason'], 'IndividualCI')))
14 pool:
15 vmImage: ubuntu-latest
16 steps:
17 - checkout: self
18 submodules: false
19 - task: AzureStaticWebApp@0
20 inputs:
21 azure_static_web_apps_api_token: [TOKEN-HERE]
22 ###### Repository/Build Configurations - These values can be configured to match your app requirements. ######
23 # For more information regarding Static Web App workflow configurations, please visit: https://aka.ms/swaworkflowconfig
24 app_location: "./" # App source code path
25 app_build_command: "npx antora --fetch antora-playbook.yml"
26 api_location: "" # Api source code path - optional
27 output_location: "./build/site" # Built app content directory - optional
28 ###### End of Repository/Build Configurations ######