Title here
Summary here
From the previous lesson, you’ve learnt what Markdown is, its Importance, its advantages, and its comparisons to WYSIWYG Editors.
Here is saying “The best way to learn is to practice” This way you will be able to identify common errors and avoid them in your next project. In this lesson, you will be doing a lot of practicals and getting your hands dirty in markdown.
In the lesson, you will be learning:
You must have got used to downloading and installing packages before you can use certain tools or software on your computers. In this case, you won’t need that at all, as some applications already support writing in Markdown such as Code editors like VScode for Read.md **files, Blog sites like Hashnode, Dev.to, social apps like Discord, Slack, Whatsapp etc.
Aside from these, there are Markdown editors the same way there are Code editors. Markdown editors are simple, lightweight tools for converting text to HTML. They can be used to format lists, headers, and importantly, to add images, videos, and links.
In simple terms, these editors allow writers to create markdown documents like how code editors enable developers to write code. They use shorthand syntax to format text, which is then converted into a readable format.
Here are some Markdown editors you can use to try writing in Markdown:
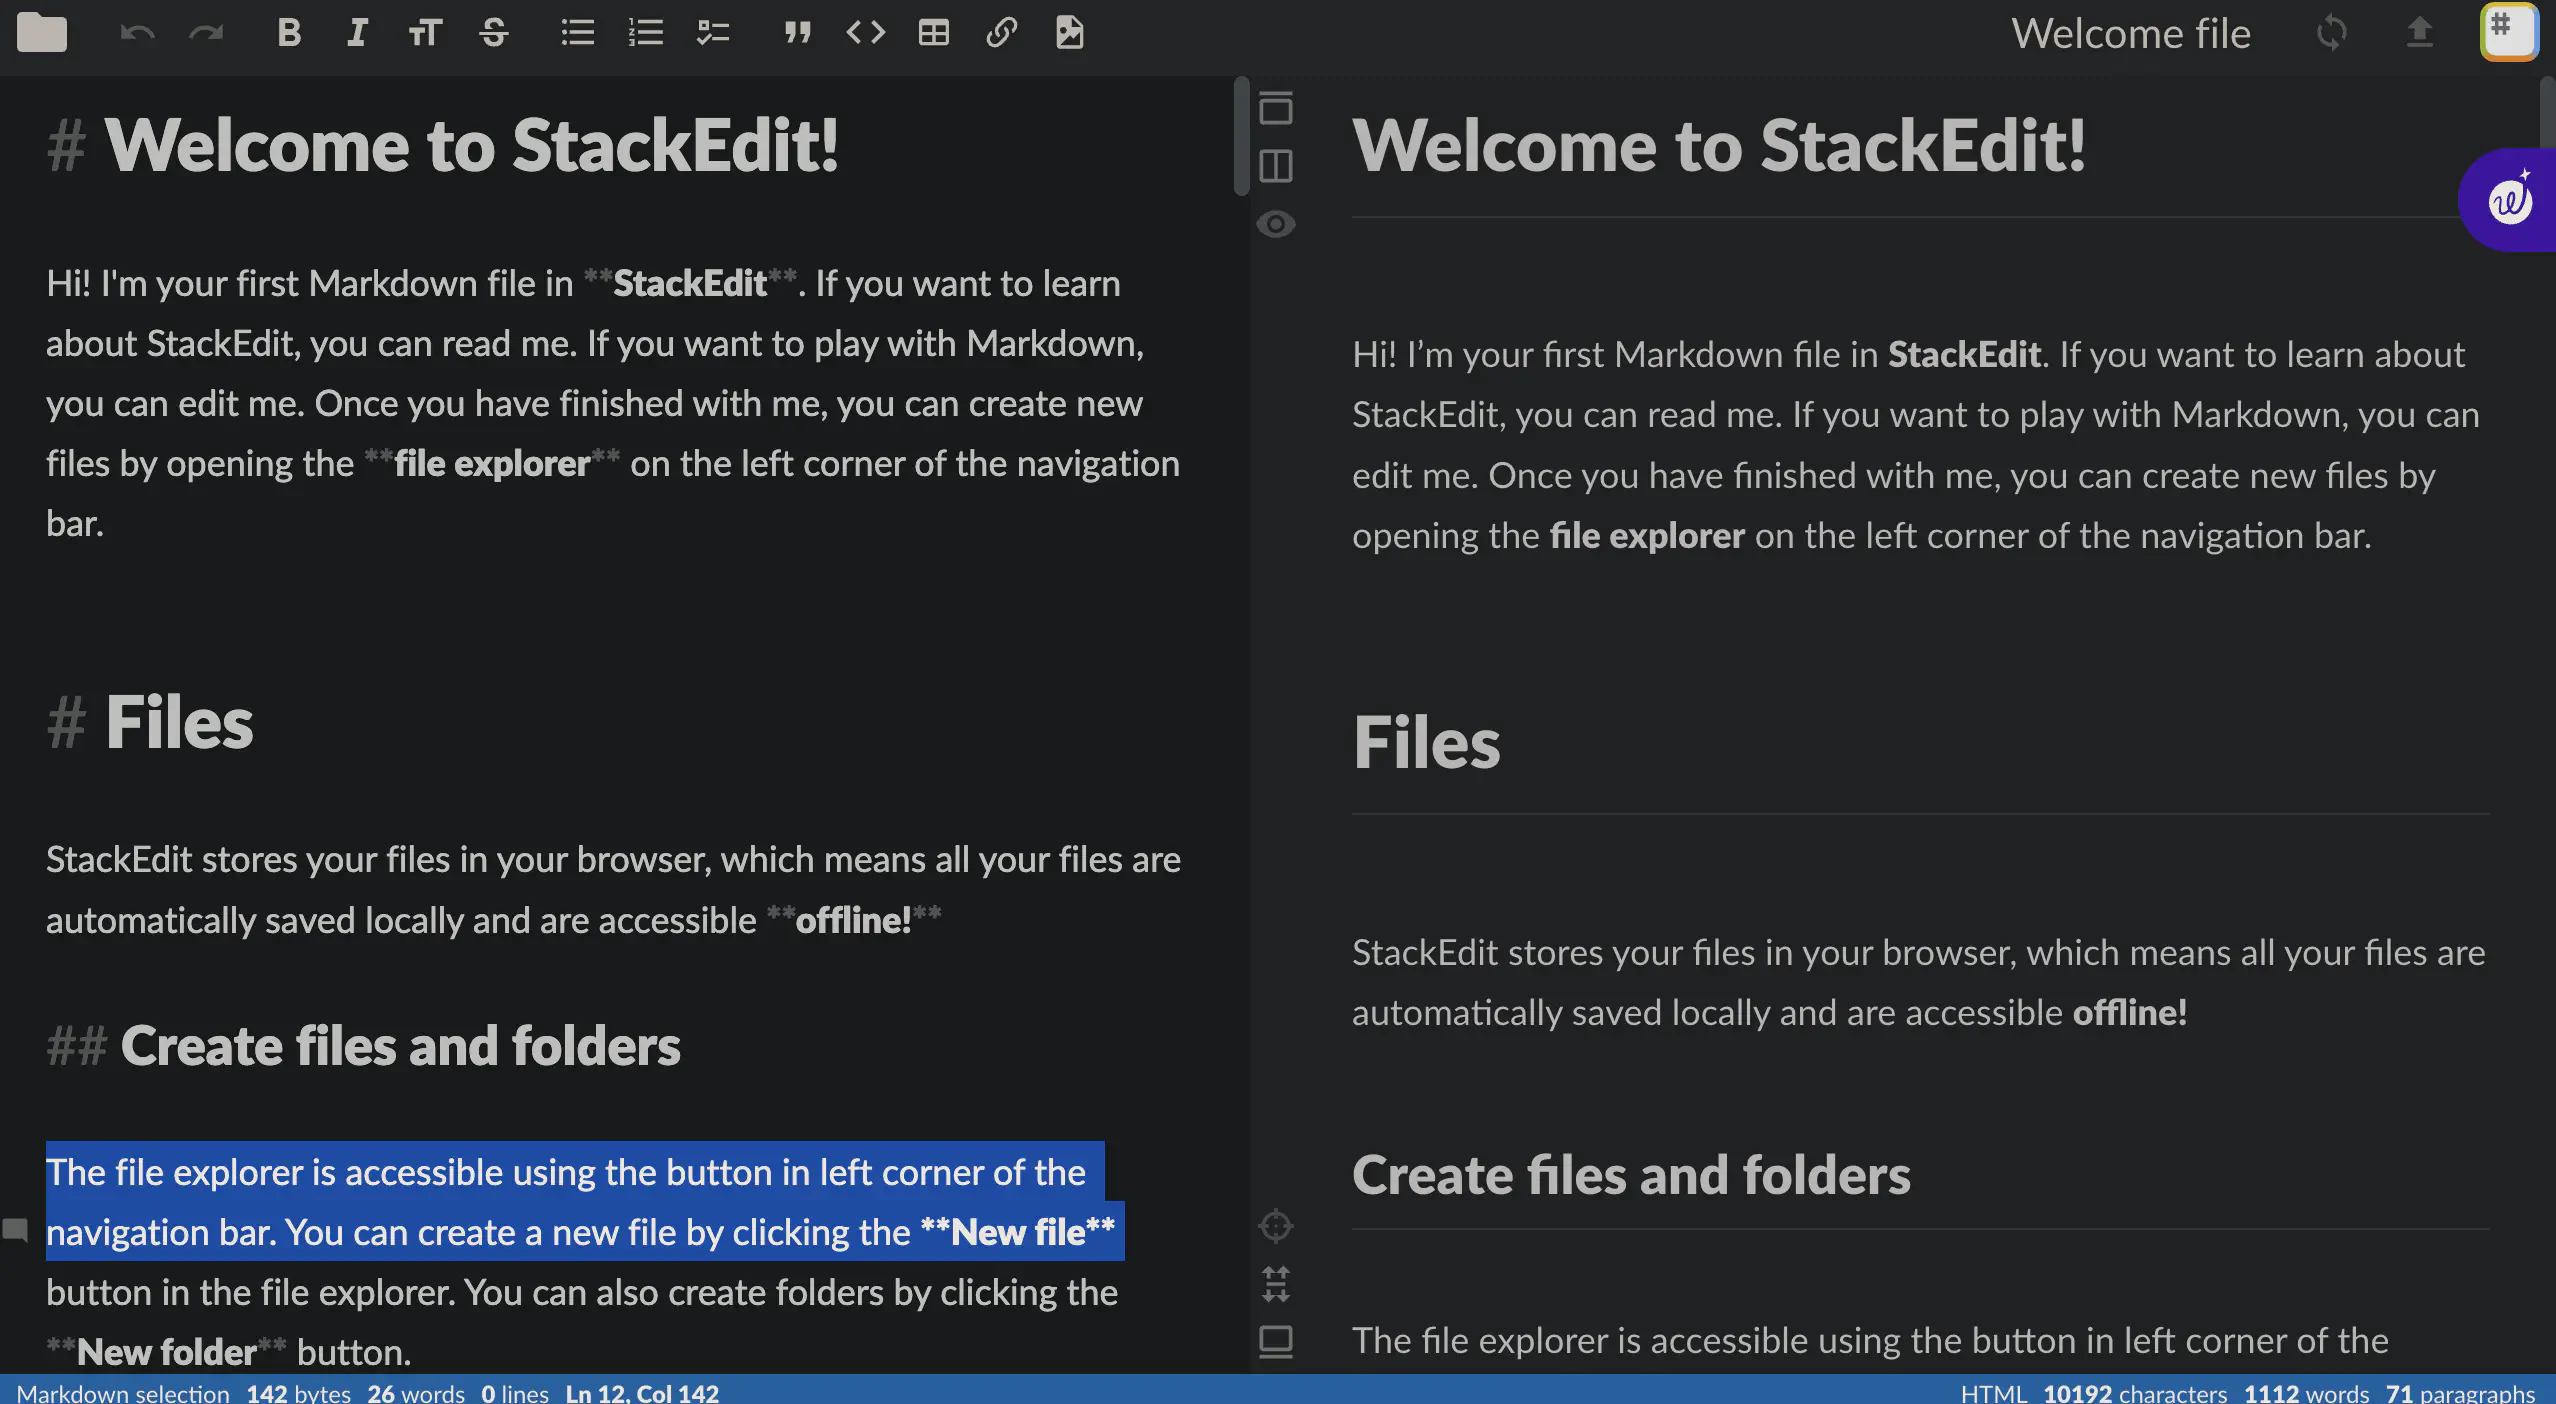
For this lesson, you will be using StackEdit. StackEdit is a free online Markdown editor with a visual toolbar for formatting (bold, emphasis, lists, etc.). It can sync with cloud storage services such as Dropbox and Google Drive, and import files from a URL or your computer’s hard drive.
**Start Writing** at the top of the page.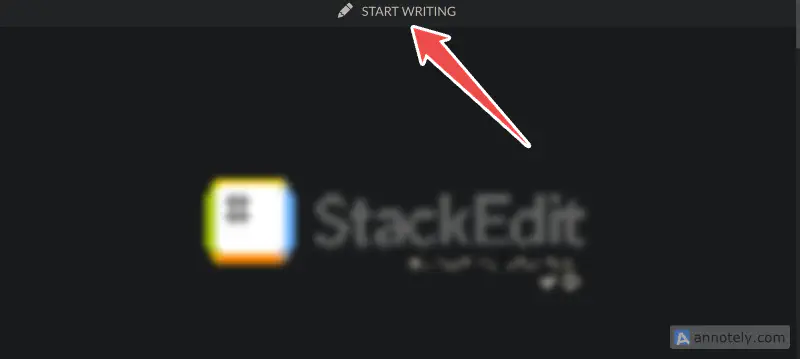
You will see a welcome file that contains various Mardown syntax and its usage together with the Outcome on the right hand.
3.Click on the Folder icon at the left side of the Nav bar.
4.Create a New File or Folder depending on your choice and name it.
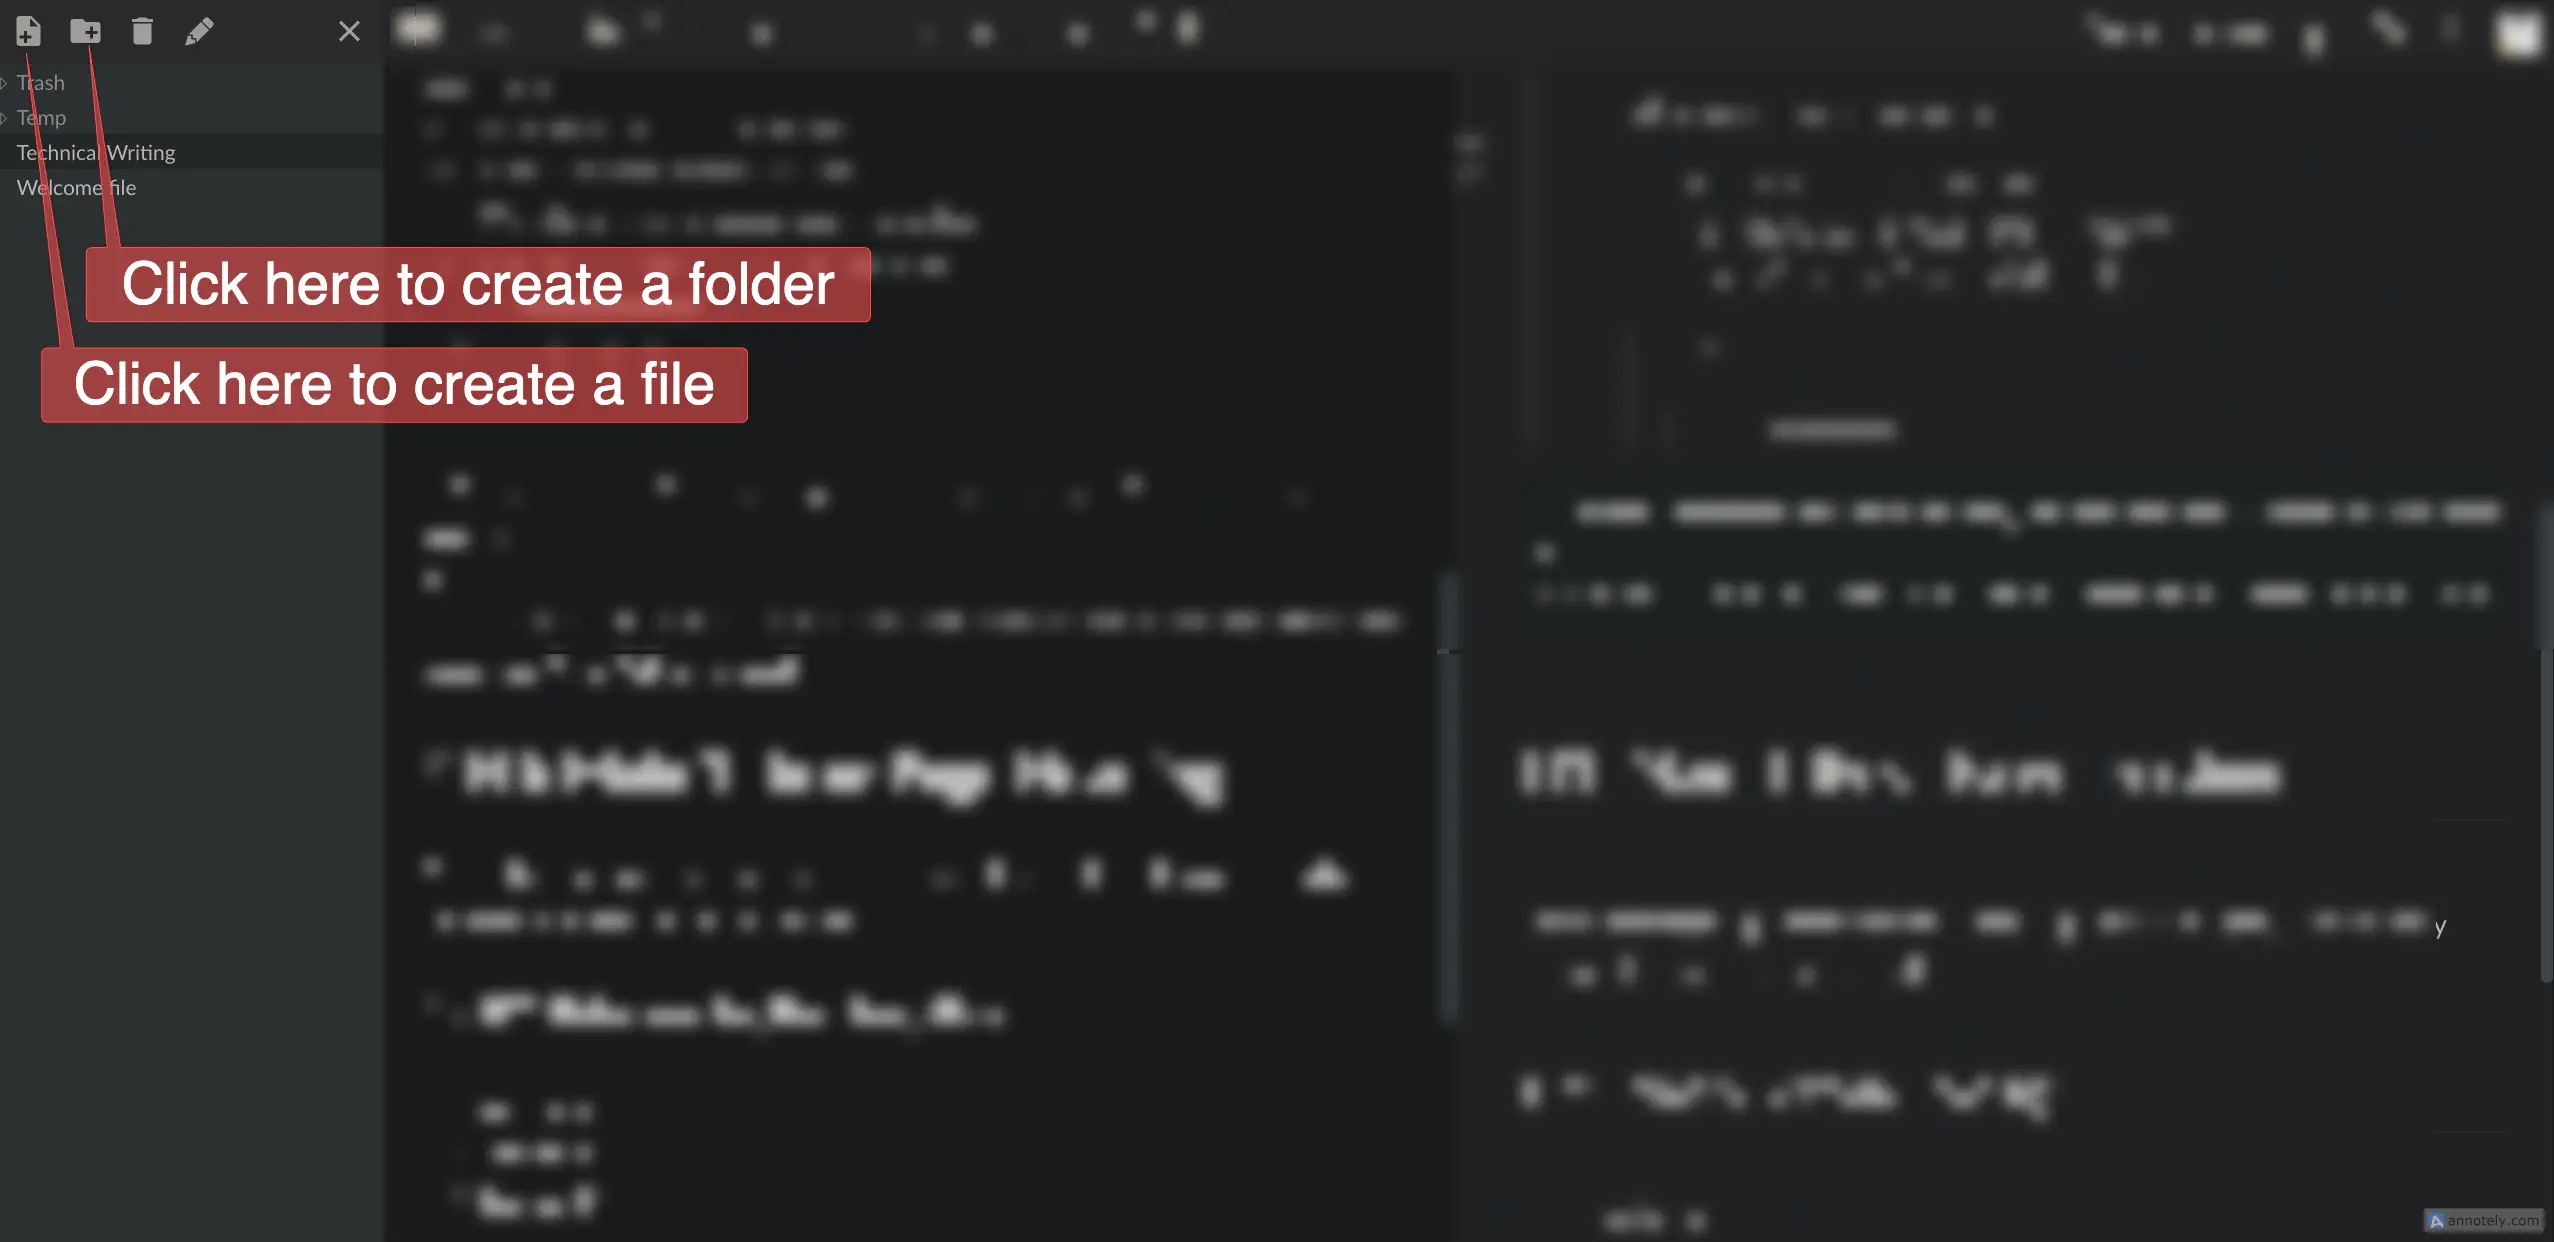
This is where You will be carrying out all your practicals.
In this section, you will learn the basic syntax in Markdown
# is used to create a heading in Markdown. The number of # signs at the beginning of a line determines the heading level. For example, one # creates the largest heading, while six # creates the smallest.
There are six levels of heading as seen below:
1# Heading One (H1)
2## Heading Two (H2)
3### Heading Three (H3)
4#### Heading Four (H4)
5##### Heading Five (H5)
6###### Heading Six (H6)Take note of the space between the ‘#’ tag and the text or phrase
Right ✅ Result Wrong ❌ ## Technical Writing Technical Writing
##Technical writing ## Technical Writing
Technical Writing is …Technical Writing
Technical Writing is …##Technical Writing
Technical writing is …
You can add emphasis in markdown either as a Bold text or Italic text. This can be achieved using asterisk(s).
Bold: Use two asterisks before the text and after the text (**).
Italic: Use one asterisk or underscore before the text and after the text. (*/ _).
Check the usage ⬇️
1**Bold text**
2*Italic text*Bold text Italic text
You can itemize as an Ordered or Unordered list.
Add numbers followed by content, as seen below ⬇️
| Syntax ✅ | Result ✅ |
|---|---|
1. Writing | 1. Writing 2. Documentation 3. Technical Writing 4. Training 1. Training 1 2. Training 2 3. Training 3 5. Troubleshooting |
Add dashes (-), asterisks (*), or plus signs (+) in front as seen below ⬇️
1- First item
2- Second item
3- Third item
4  - Indented item
5  - Indented item
6    - Extra item
7- Fourth iteNote: for nested listing either as an ordered or unordered list, maintain the same syntax and add extra spacing before nest items e.g Press the space bar four times before you begin the nest list
| Right ✅ | Wrong ❌ |
|---|---|
| - First item - Second item - Third item - Indented item - Indented item - Extra item - Fourth item | - First item - Second item - Third item - Indented item - Indented item - Extra item - Fourth item |
| - First item - Second item - Third item - Indented item - Indented item - Extra item - Fourth item | - First item - Second item - Third item + Indented item * Indented item - Extra item - Fourth item |
| 1. First item 2. Second item 3. Third item 1. Indented item 2. Indented item 1. Extra item 4. Fourth item | 1) First item 2) Second item 3) Third item 1) Indented item 2) Indented item 1) Extra item 4) Fourth item |
[Google](https://www.google.com)The outcome is Google
!), followed by alt text in brackets, and the path or URL to the image asset in parentheses.1The output will look like this ⬇️
In this section, you will learn how to structure your content in an organised and readable manner through Headings and Subheadings, Tables and Blockquotes.
This is an important aspect of structuring content in markdown. Headings and subheadings help the readers quickly scan the content, understand its structure, and easily locate specific information.
Ideally, H1 are best suitable for Title or Main Heading. This is the most prominent heading level and should be used sparingly, typically once per page.
H2: Used for primary section headings. These are subheadings under the main topic. - Example: Introduction, Methods, Results, Conclusion.
H3: Used for subheadings within sections. They provide further structure and organization. - Example: Study Participants, Data Collection, Data Analysis
H4, H5, H6: These lower-level headings can be used for smaller subsections or to emphasize specific points within the content. - Example: Demographics, Instrumentation, Statistical Analysis
 1# H1: Main Title or Page Heading
 2
 3This is the most important heading on the page. It should clearly and concisely convey the main topic of the content.
 4
 5## H2: Primary Section Heading
 6
 7-   **Section 1**
 8-   **Section 2**
 9-   **Section 3**
10
11### H3: Subheading within a Section
12
13#### Section 1
14
15-   Subtopic A
16-   Subtopic B
17
18#### Section 2
19
20-   Subtopic C
21-   Subtopic D
22
23##### H5: Lower-level Heading (Optional)
24
25This level of heading is used less frequently, but can be useful for providing additional structure within a subsection.
26
27###### H6: Even Lower-level Headings (Rarely Used)
28
29These headings are typically not necessary for most content, but can be used in very complex documents with multiple layers of organization.This is the most important heading on the page. It should clearly and concisely convey the main topic of the content.
This level of heading is used less frequently, but can be useful for providing additional structure within a subsection.
These headings are typically not necessary for most content, but can be used in very complex documents with multiple layers of organization.
To create a table,
| before and after the table heading to create rows.---) to create each column’s header.|) to separate each column.For compatibility, you should also add a pipe on either end of the row.
4.Add the table data on a new line
don’t add space between the column
1| Frontend | Backend | Smart contract|
2|---|---|---|
3| Html | Python | Solidity |
4| Css | Node.js | Rust |
5| Javascript | PhP | Vyper || Frontend | Backend | Smart contract |
|---|---|---|
| Html | Python | Solidity |
| Css | Node.js | Rust |
| Javascript | PhP | Vyper |
1    Right ✅
2    | Frontend | Backend | Smart contract|
3    |:---|:---|:---|
4    | Html | Python | Solidity |
5    | Css | Node.js | Rust |
6    | Javascript | PhP | Vyper |
1 Wrong ❌
2 | Frontend | Backend | Smart contract|
3
4 |:---|:---|:---|
5
6 | Html | Python | Solidity |
7
8 | Css | Node.js | Rust |
9
10 | Javascript | PhP | Vyper |You can align text in the columns to the left, right, or centre.
: the right side of the hyphens within the header row.: to the left side of the hyphens within the header row.: on both sides of the hyphens within the header row.1| Frontend | Backend | Smart contract|
2|:---:|:---:|:---:|
3| Html | Python | Solidity |
4| Css | Node.js | Rust |
5| Javascript | PhP | Vyper || Frontend | Backend | Smart contract |
|---|---|---|
| Html | Python | Solidity |
| Css | Node.js | Rust |
| Javascript | PhP | Vyper |
1| Frontend | Backend | Smart contract|
2|---:|---:|---:|
3| Html | Python | Solidity |
4| Css | Node.js | Rust |
5| Javascript | PhP | Vyper || Frontend | Backend | Smart contract |
|---|---|---|
| Html | Python | Solidity |
| Css | Node.js | Rust |
| Javascript | PhP | Vyper |
1| Frontend | Backend | Smart contract|
2|:---:|:---:|:---:|
3| Html | Python | Solidity |
4| Css | Node.js | Rust |
5| Javascript | PhP | Vyper || Frontend | Backend | Smart contract |
|---|---|---|
| Html | Python | Solidity |
| Css | Node.js | Rust |
| Javascript | PhP | Vyper |
Blockquotes are used to set off long quotations from other sources. To create a blockquote, add the greater than sign > in the font of the paragraph.
1> Here is saying “_The_ _best way to learn is to practice_” This way you will be able to identify common errors and avoid them in your next project. For multiple paragraphs, add > before the next paragraph to create a space between them.
1> Here is saying  "_The_ _best way to learn is to practice_" This way you will be able to identify common errors and avoid them in your next project.
2>
3> In simple terms, these editors allow writers to create markdown documents like how code editors enable developers to write code.
You can also create a nested blockquote by adding >> or more in front of the paragraph you want to nest.
1    > In this lesson, you will be doing a lot of practicals and getting your hands dirty in markdown.
2    > > In the lesson, you will be learning:
3    >> + How to Set Up Markdown Tools.
4    >> + Markdown basic syntaxes and Formatting.
5    >> + How to Structure Contents in Markdown.
6         >>>+ kkkkkkkkkkkkk
7         >>>>+ kkkkkkkkk
Check the output below ⬇️
In this lesson, you will be doing a lot of practicals and getting your hands dirty in markdown.
In the lesson, you will be learning:
- How to Set Up Markdown Tools.
- Markdown basic syntaxes and Formatting.
- How to Structure Contents in Markdown.
- Additional nested item
- Further nested item
The best way to learn markdown is to use it at all times e.g. after this lesson, write an article in StackEdit.
See you in the next lesson.